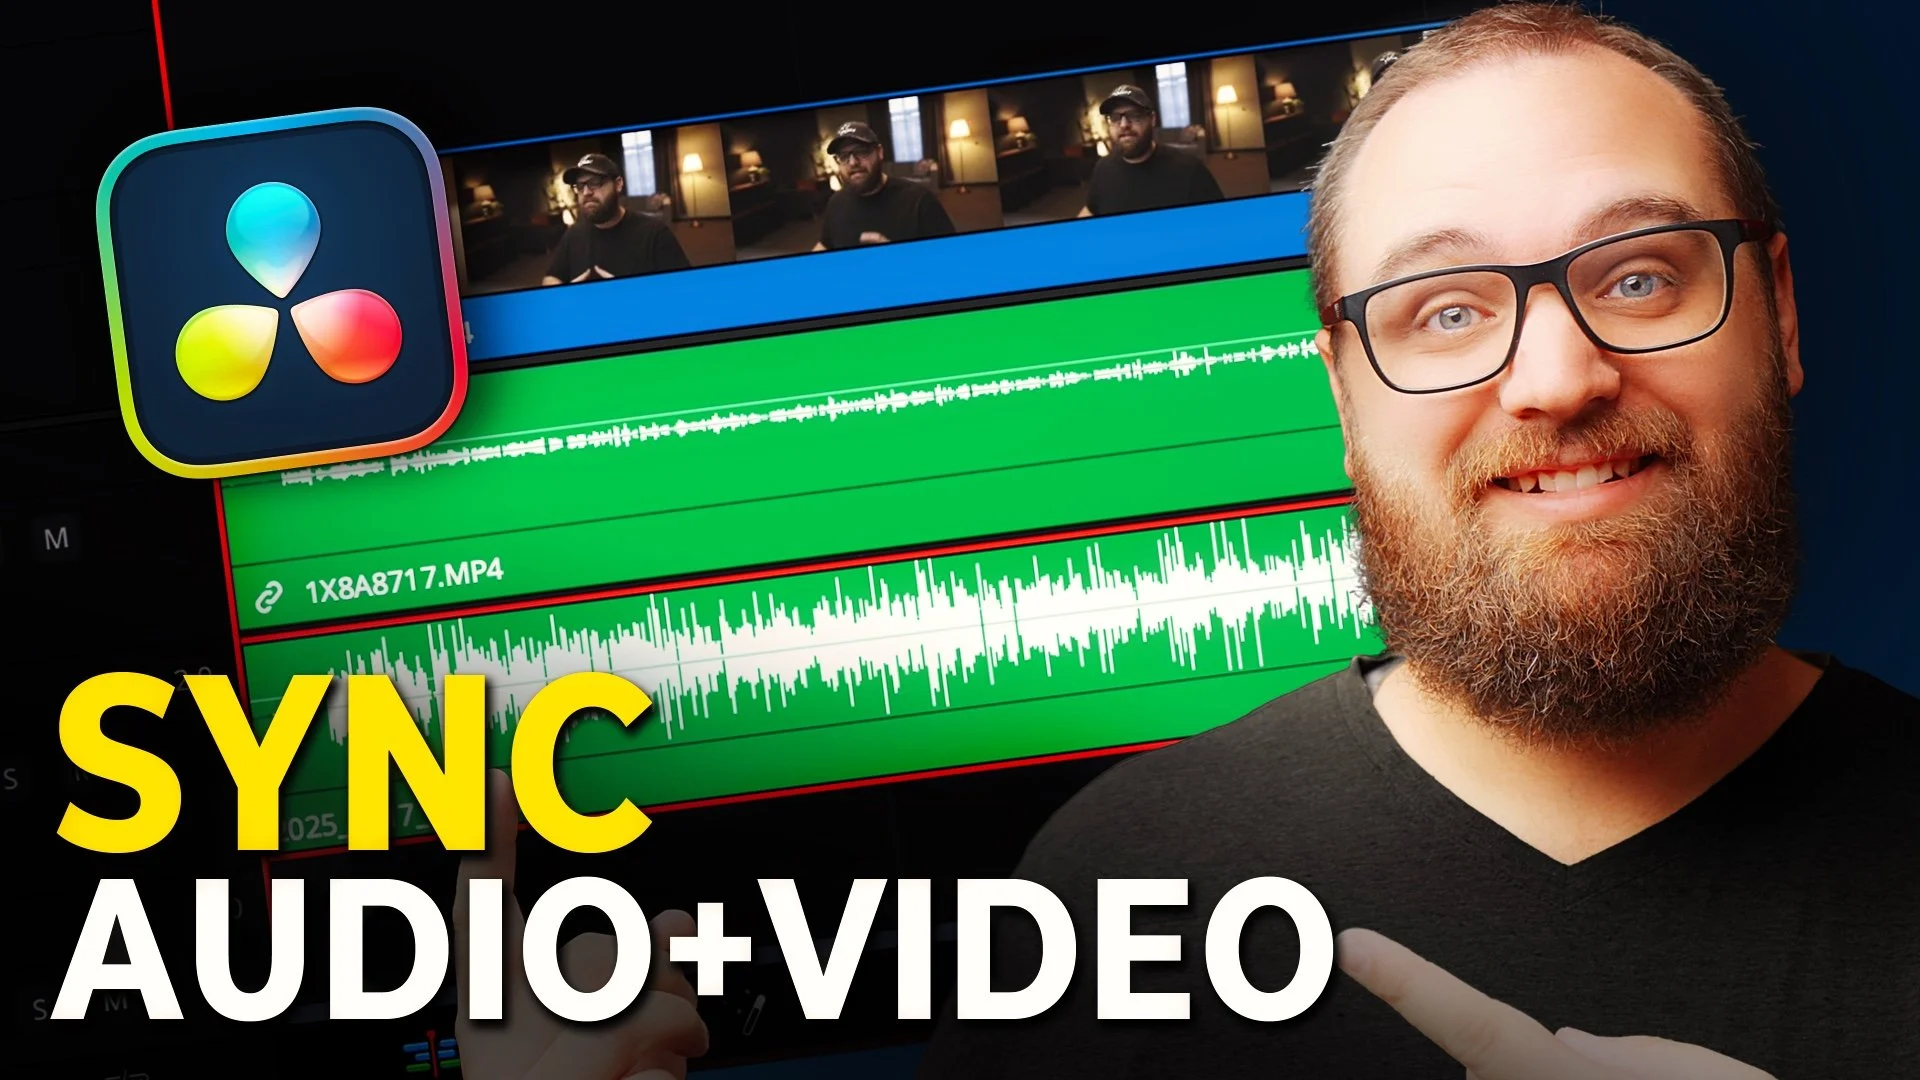
The FASTEST Way to Sync Audio & Video in DaVinci Resolve!
If you’re tired of clapping, guessing, or manually lining up waveforms to sync your audio and video, this one’s for you. In this quick tutorial, I’ll show you the easiest way to sync your audio and video in DaVinci Resolve—using the software’s built-in features to make the process fast, simple, and accurate.
Let’s face it—most of us aren’t using timecode when filming YouTube videos. And that’s totally fine. Thanks to Resolve’s Auto Align Clips feature, you can sync using waveform data without all the extra hassle.
Step-by-Step: Sync Audio with Waveforms
Drop Your Clips into the Timeline
Bring in your video file (which has its own camera audio) and your separate, higher-quality audio recording.Normalize the Camera Audio (Optional)
If your camera audio levels are really low, right-click the clip, choose “Normalize Audio,” and set it to 0 dB. This makes it easier for the software to align the waveforms.Select Both Clips
Highlight the video clip and your external audio track.Right-Click and Choose ‘Auto Align Clips’ → ‘Based on Waveform’
Let Resolve analyze and match the waveform patterns automatically.Fine-Tune if Needed
You can zoom in on the timeline and visually confirm the waveforms are aligned. If not perfect, just nudge things slightly until they’re locked in.Link the Synced Audio to Your Video
Delete the original camera audio if you don’t need it, then link the high-quality audio to the video by selecting both, right-clicking, and choosing “Link Clips.”
And that’s it. No clapping, no guessing—just synced audio in seconds.
Final Tip
If you’re screen recording or filming tutorials like I do, you might still want to tap or clap at the beginning just in case, but honestly, the waveform sync is usually spot on. It’s a huge time saver and gives your video a polished, professional sound without the stress.

