Organize your Resolve workflow.
If you’re switching to DaVinci Resolve from another video editing software like Premiere Pro, you may find that the file structure and project saving system work a bit differently. In this guide, I’ll walk you through how I organize my files, where DaVinci Resolve saves project files, and how you can create templates to streamline your workflow.
Understanding the DaVinci Resolve Project Database
Unlike Premiere Pro, where project files are saved alongside your footage and assets, DaVinci Resolve stores project files in a database. This means that even if you save your media in an organized folder structure, the actual project file is stored separately within Resolve’s database. This is an important distinction because you won’t find a traditional .prproj-like file in your media folders.
My File Structure for Video Projects
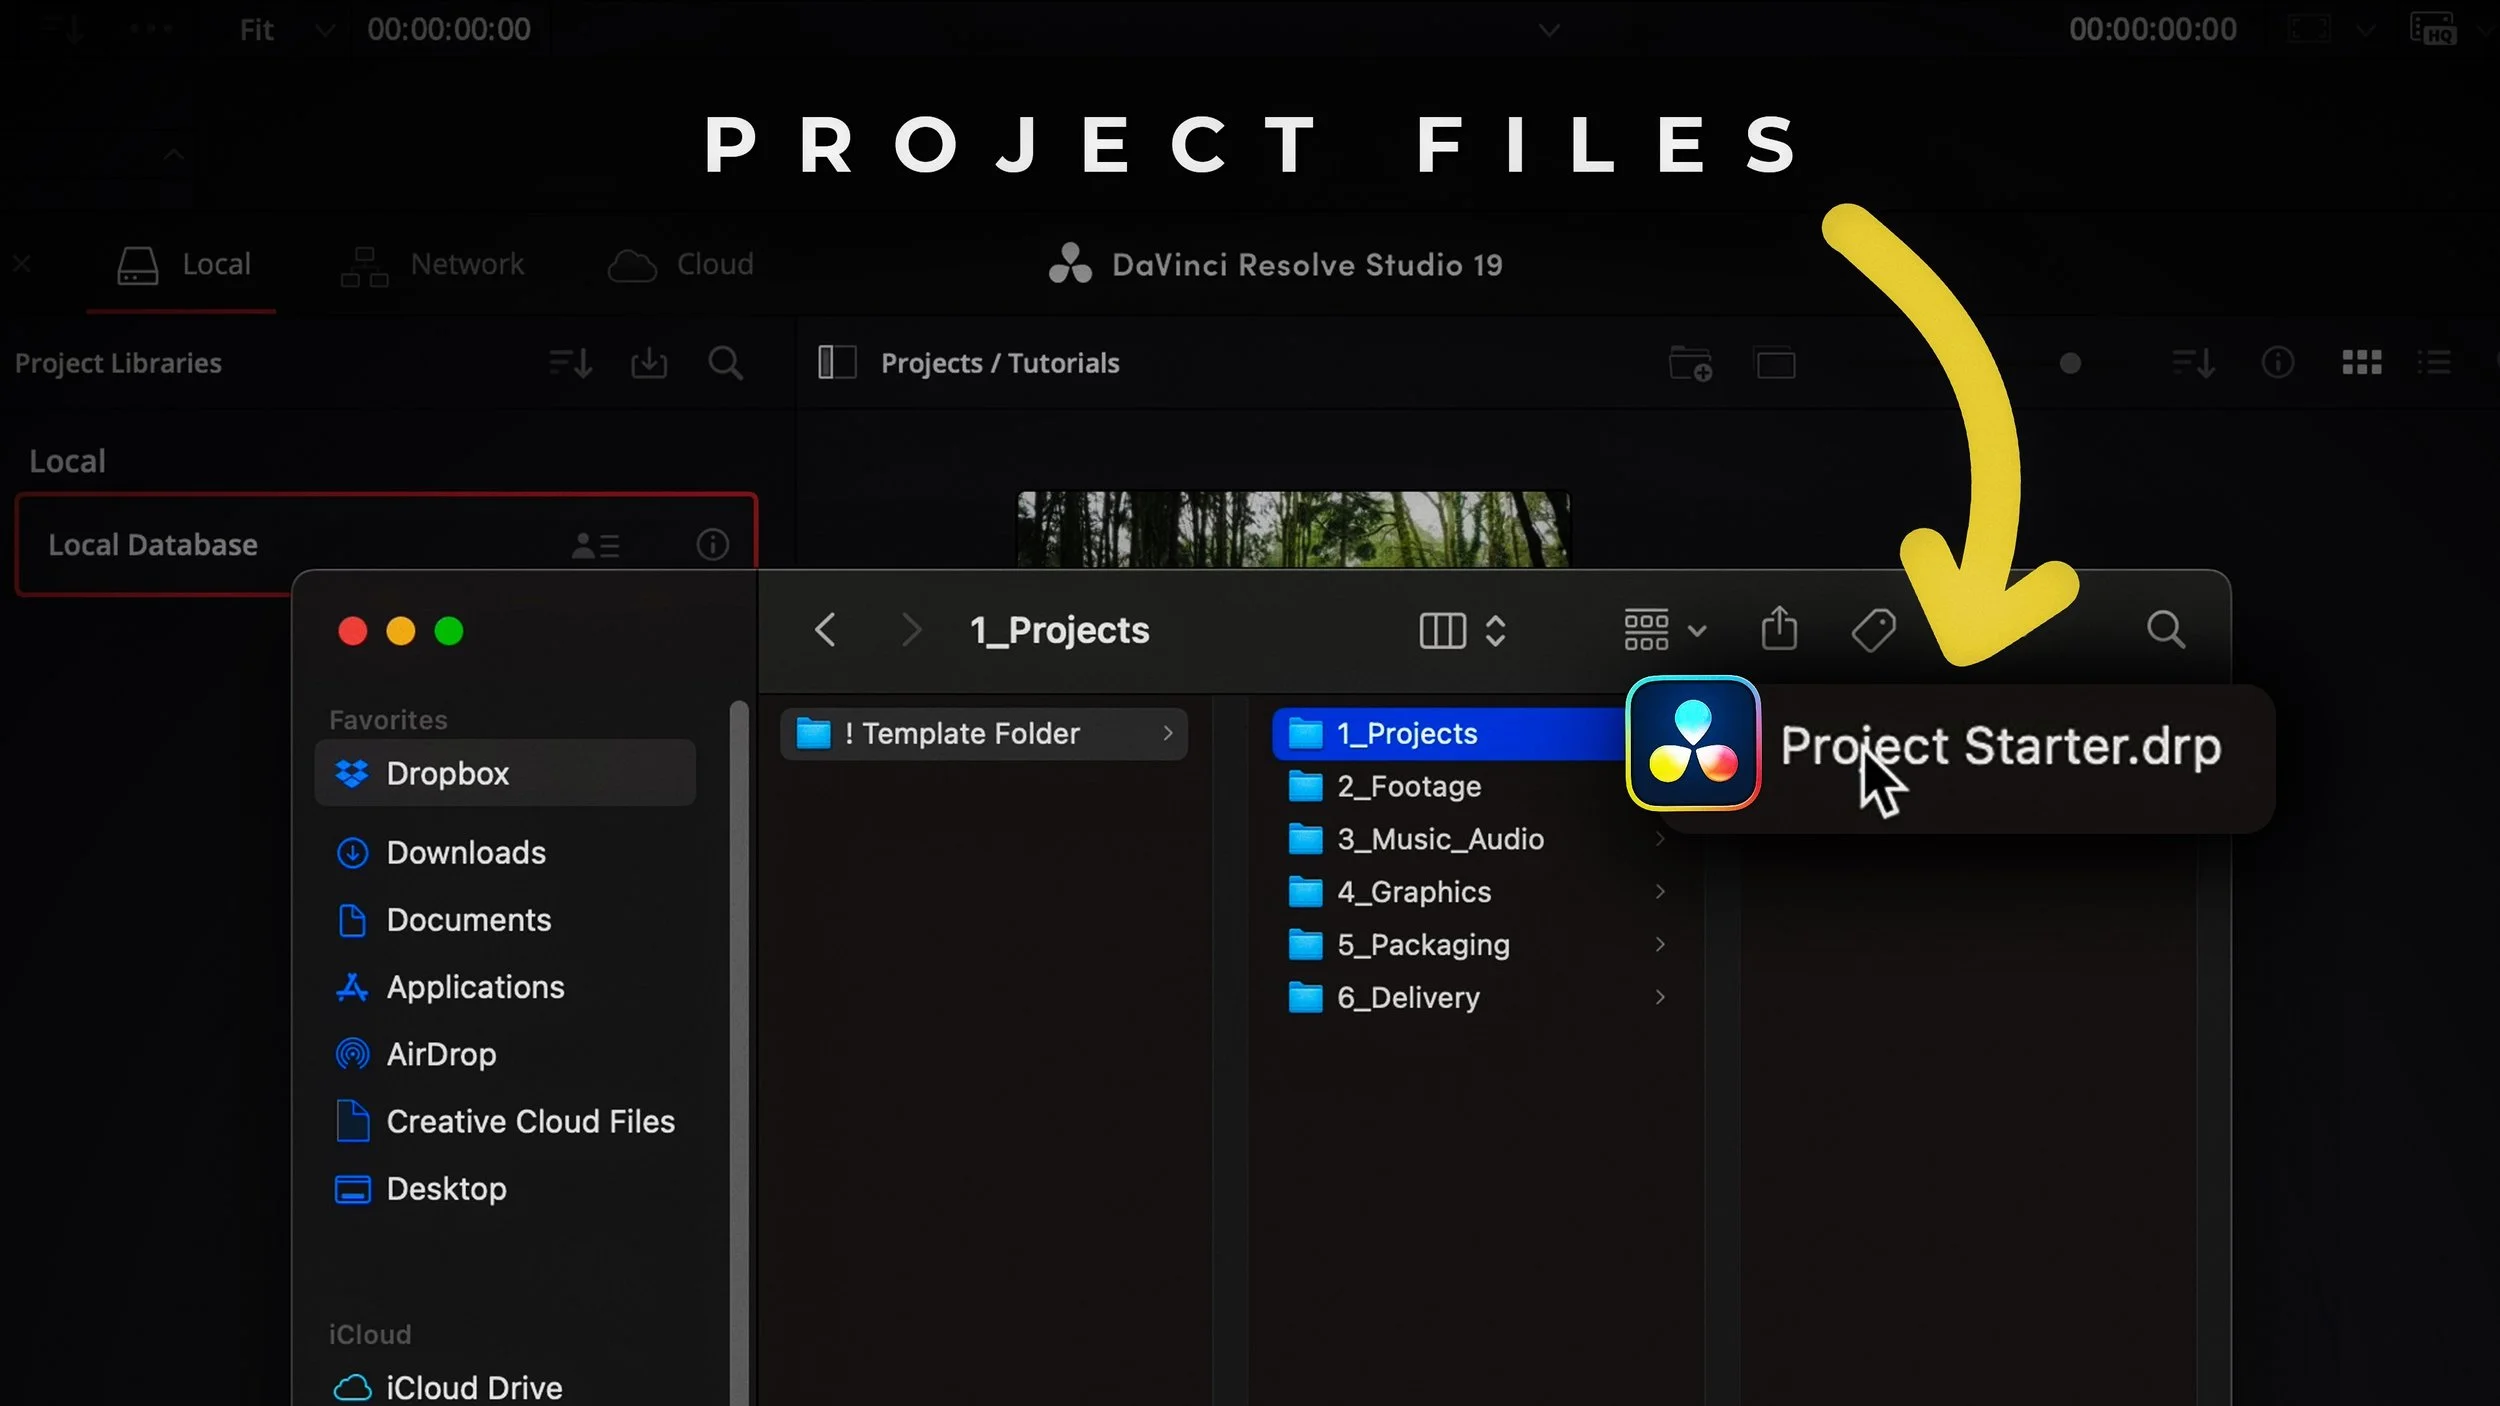
To keep my projects organized, I use a standard template folder that I duplicate for every new video. Here’s my folder structure:
Project – Contains the
.drp(DaVinci Resolve Project) starter file.Footage – Stores all A-roll, B-roll, screen recordings, LUTs, and presets.
Music & Audio – Holds background music, sound effects, and voiceovers.
Graphics – Includes in-video assets such as lower thirds, overlays, and animations.
Packaging – Houses thumbnails and promotional materials.
Delivery – Where final exported files are stored.
This structure keeps everything easy to access and ensures a smooth editing workflow.
Creating and Using Project Templates in DaVinci Resolve
If you frequently use the same setup for your projects, creating a template can save you time. Here’s how I do it:
Create a New Project – Set up all your bins (folders), timelines, and essential assets.
Save as a
.drpFile – This allows you to import the project template into future projects.Importing a Template:
Double-click the
.drpfile to open it in DaVinci Resolve.Alternatively, go to File > Import Project and select the
.drpfile.
Once imported, the project will reside in DaVinci Resolve’s database. Any changes made will need to be saved separately if you want to update the original template file.
In-Project File Organization
Within DaVinci Resolve, I mirror my external file structure in the Media Pool:
Final Cut – Stores the main edit.
Nests – Holds any nested sequences.
Old – Contains previous timeline versions in case I need to revert changes.
Audio – Stores imported voiceovers, music, and sound effects.
Footage – Includes all video clips.
Graphics – Houses lower-thirds, overlays, and other visual elements.
Standard Assets – Keeps reusable assets, such as branded elements or sponsor content.
By keeping my in-project organization consistent with my external folder structure, I minimize confusion and can quickly locate files.
Exporting and Saving Projects
When working in DaVinci Resolve, you have multiple ways to save and archive your projects:
Saving a Project (.drp) – Go to File > Export Project to create a
.drpfile. This file contains everything in your project, but if media files have been moved, you may need to relink them.Saving a Bin – Right-click a bin and select Export Bin to save a specific set of media assets for reuse in another project.
Exporting a Project Archive (.dra) – This option saves the entire project, including all associated media. Go to File > Export Project Archive to create a
.drafile. Note that this can result in a large file size, depending on your media assets.
When to Use Each Save Method
Use
.drpfiles when saving a project template or moving a project between systems.Use
.drafiles when you need a fully self-contained project backup with all media included.Use Bin Exports when you frequently reuse assets across multiple projects.
Opening Projects in DaVinci Resolve
Since Resolve operates within a database, you don’t open projects like in other editors. Instead:
Open DaVinci Resolve.
Navigate to your Project Manager window.
Select the project from the list.
Click Open to launch it.
This approach keeps everything centralized, but if you need to move a project to another system, exporting as a .drp or .dra ensures portability.
Final Thoughts
Understanding DaVinci Resolve’s project saving and file organization system can help you work more efficiently. By maintaining a structured file setup and using project templates, you can speed up your workflow and keep projects well-organized.
If you found this guide helpful, be sure to check out my YouTube channel for more DaVinci Resolve tips and tutorials!
Make it stand out
Whatever it is, the way you tell your story online can make all the difference.