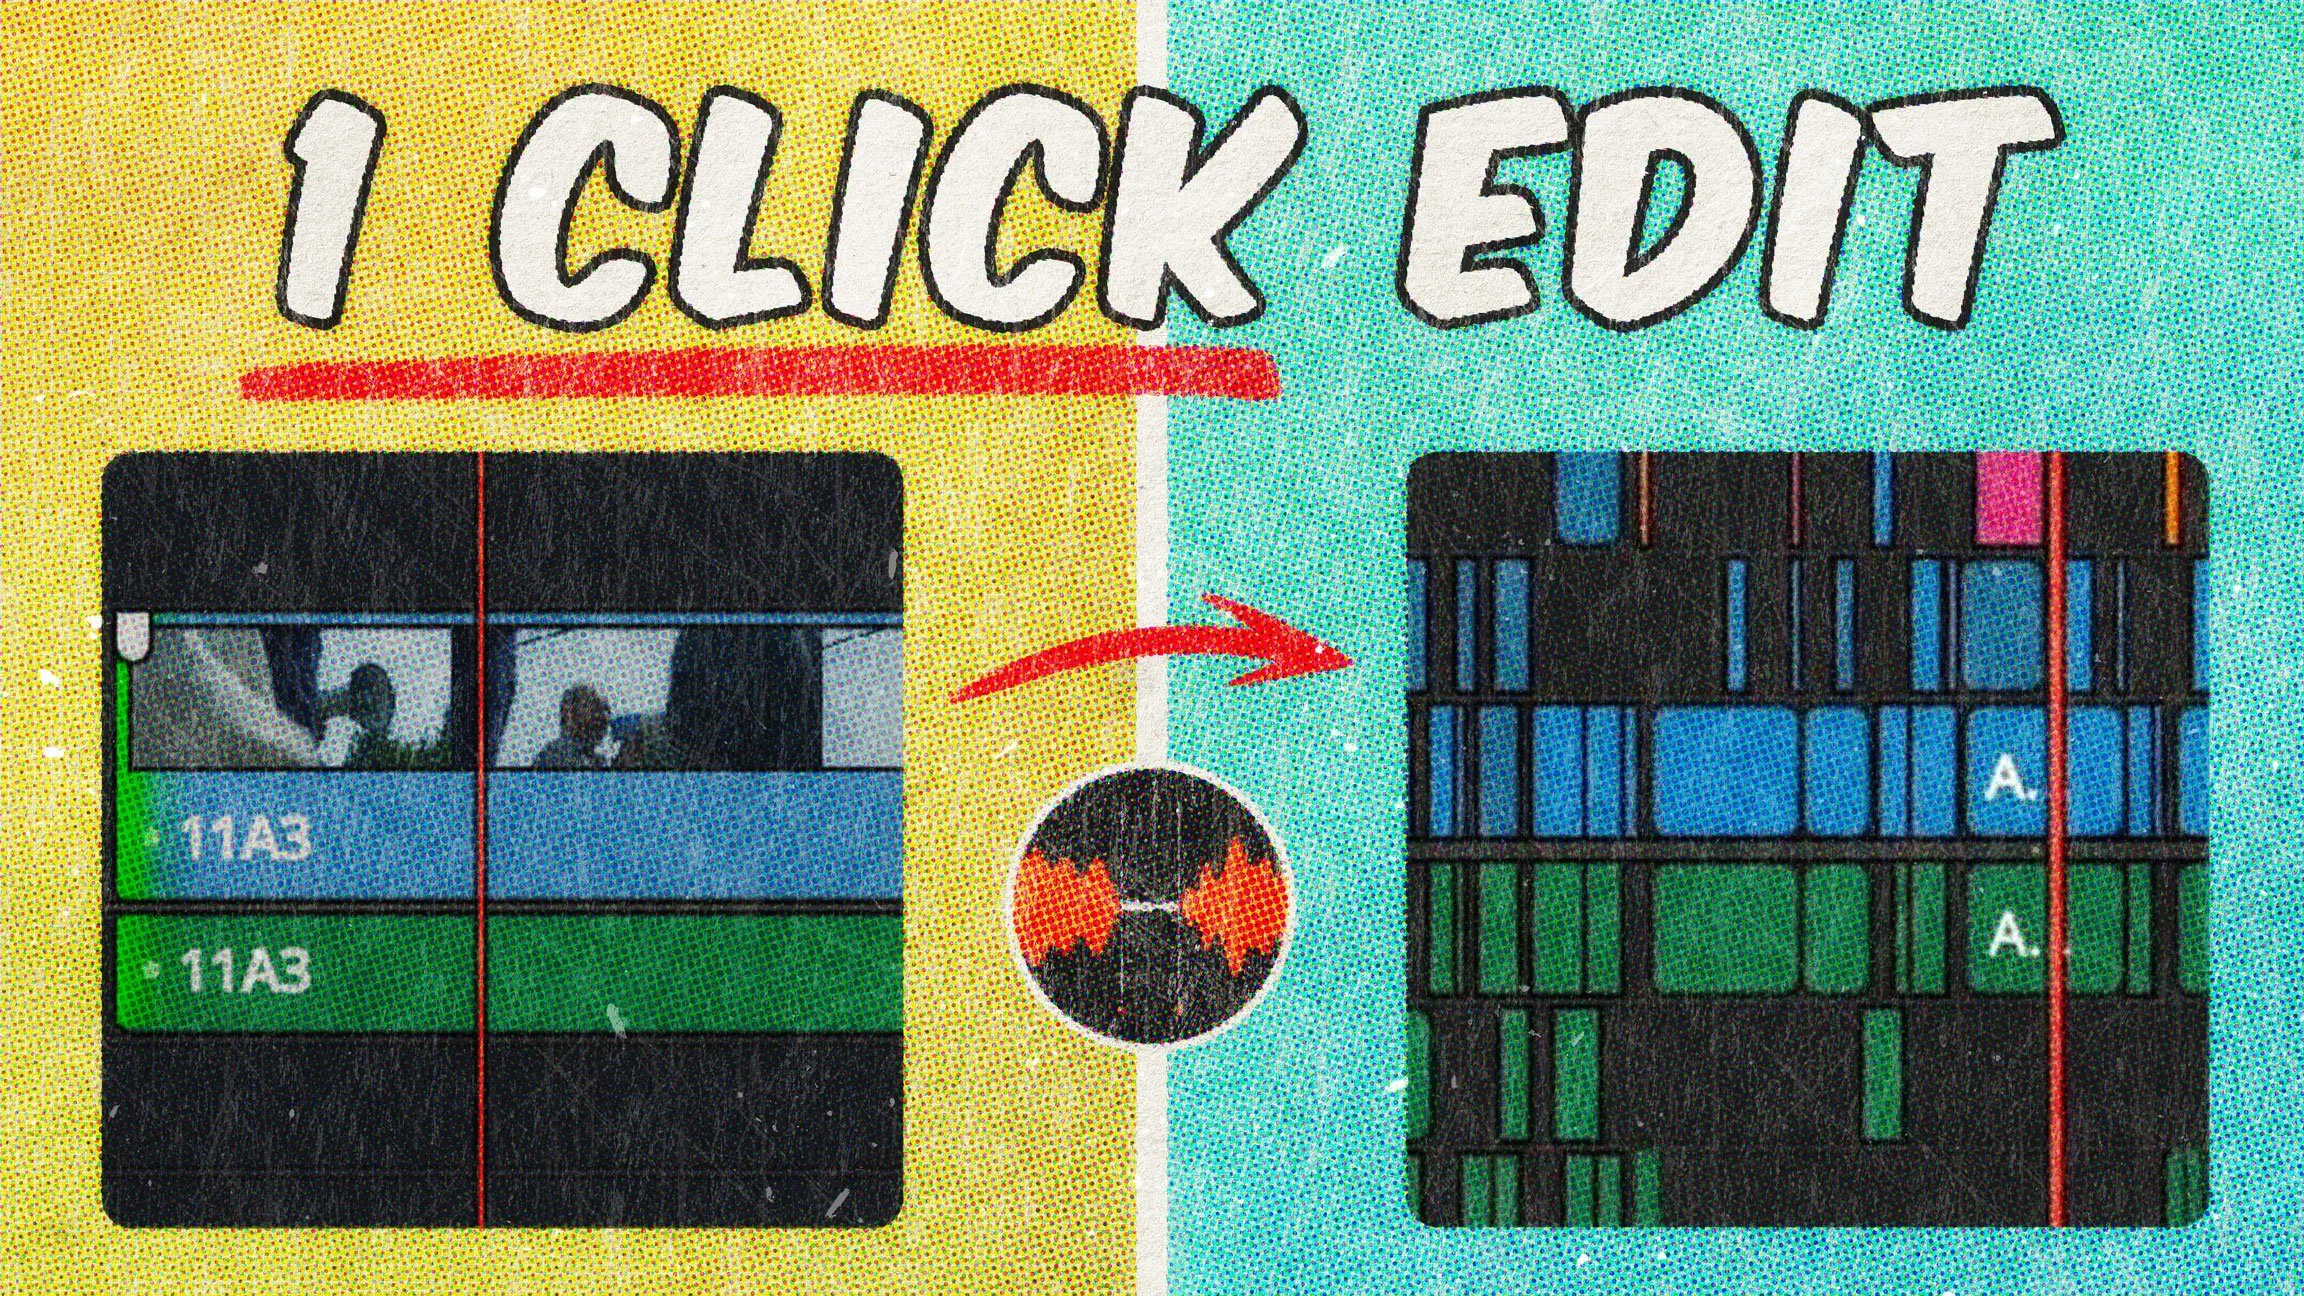
How to Quickly Cut Out Silence from Video Clips in DaVinci Resolve Using AutoCut
If you're a video creator, you know how tedious editing can be—especially when dealing with long, uncut clips filled with pauses and silences. In this post, I’ll show you how to drastically speed up your editing process using a plugin called AutoCut. This tool works with both DaVinci Resolve and Adobe Premiere, and it’s a game-changer for rough cuts. Let’s dive in!
What Is AutoCut?
AutoCut is a plugin that simplifies the editing process by automatically trimming silences and adjusting clips to specific lengths. While the plugin offers a range of features—most of which are more developed for Premiere—DaVinci Resolve users can still benefit from its core functionality: auto-cutting silence.
Why Use AutoCut?
For creators who spend hours manually trimming pauses, this tool can save you significant time. Whether you're editing talking-head videos, tutorials, or interviews, AutoCut gives you a rough cut in seconds, allowing you to focus on fine-tuning and storytelling.
Step-by-Step Guide: Using AutoCut in DaVinci Resolve
Here’s how to use AutoCut to eliminate silence from your clips:
1. Install AutoCut
Before you begin, ensure the plugin is installed and active in DaVinci Resolve. Once installed, you’ll find it under the Workspace > Scripts menu.
2. Prepare Your Timeline
Import your raw clip into the timeline.
If you only want to process a portion of the timeline, set In and Out points to define the section you want to edit. For this tutorial, we’ll work with the entire timeline.
3. Launch AutoCut
Go to Workspace > Scripts > AutoCut.
The AutoCut interface will appear, showing the available options.
4. Adjust AutoCut Settings
AutoCut offers several customizable parameters to tailor the cutting process:
Noise Threshold
Adjust this setting to define what counts as "noise" or "silence."
For most cases, the default of
40works well, but you can fine-tune it depending on the background noise in your clip.
Silence Duration
Set the minimum duration for a segment to be considered silent.
For a conversational video, I recommend starting at
400ms. This prevents tiny pauses from being mistakenly cut.
Padding
Determine how much silence should be kept before and after each talking segment.
A
100mspadding is a good starting point, but adjust based on your needs.
5. Silence Management Options
AutoCut provides flexibility in how silences are handled:
Remove Silences: Completely cuts and removes silent sections, leaving only talking segments.
Keep Silences: Retains silences but separates them into individual clips for manual adjustment.
Mute Silences: Silences the audio while keeping the timeline spacing intact.
For rough cuts, select Remove Silences to delete all unnecessary pauses.
6. Add Transitions (Optional)
To make your cuts smoother, AutoCut includes options for transitions:
J-Cut: Audio begins before the video switches to the next clip.
L-Cut: Video switches before the audio transitions.
None: Keeps hard cuts between clips.
I selected J-Cut and L-Cut for this tutorial to create natural transitions.
7. Generate the Rough Cut
Once your settings are configured:
Click Generate Preview to see how the plugin processes your timeline.
If everything looks good, hit Apply to let AutoCut do its magic.
8. Fine-Tune Your Timeline
After AutoCut processes your clip:
Review the timeline to ensure the cuts are accurate.
Delete bad takes or overlapping audio that AutoCut may have retained.
Adjust any remaining transitions or timing issues.
Results and Performance
In my test, AutoCut trimmed a 3-minute clip in under 10 seconds. The plugin seamlessly removed silences and applied transitions, leaving a polished, rough cut. The processing time will increase slightly for longer clips (e.g., 20 minutes or more), but it’s still exponentially faster than manual editing.
Why AutoCut Is Worth It?
AutoCut is a subscription-based plugin, but the time it saves makes it well worth the cost for regular creators. If you want to try it out, use the link below to get 20% off your first month. Trust me—if you create videos frequently, AutoCut will quickly pay for itself.
Get AutoCut with 20% Off Here!
Final Thoughts
AutoCut has been a lifesaver for my editing workflow, especially for talking-head videos and tutorials. While it won’t replace detailed editing, it provides a quick and efficient way to create a clean rough cut, saving hours of work.
If you’re ready to make editing faster and easier, download AutoCut today and watch your productivity skyrocket.
Make it stand out
Whatever it is, the way you tell your story online can make all the difference.

