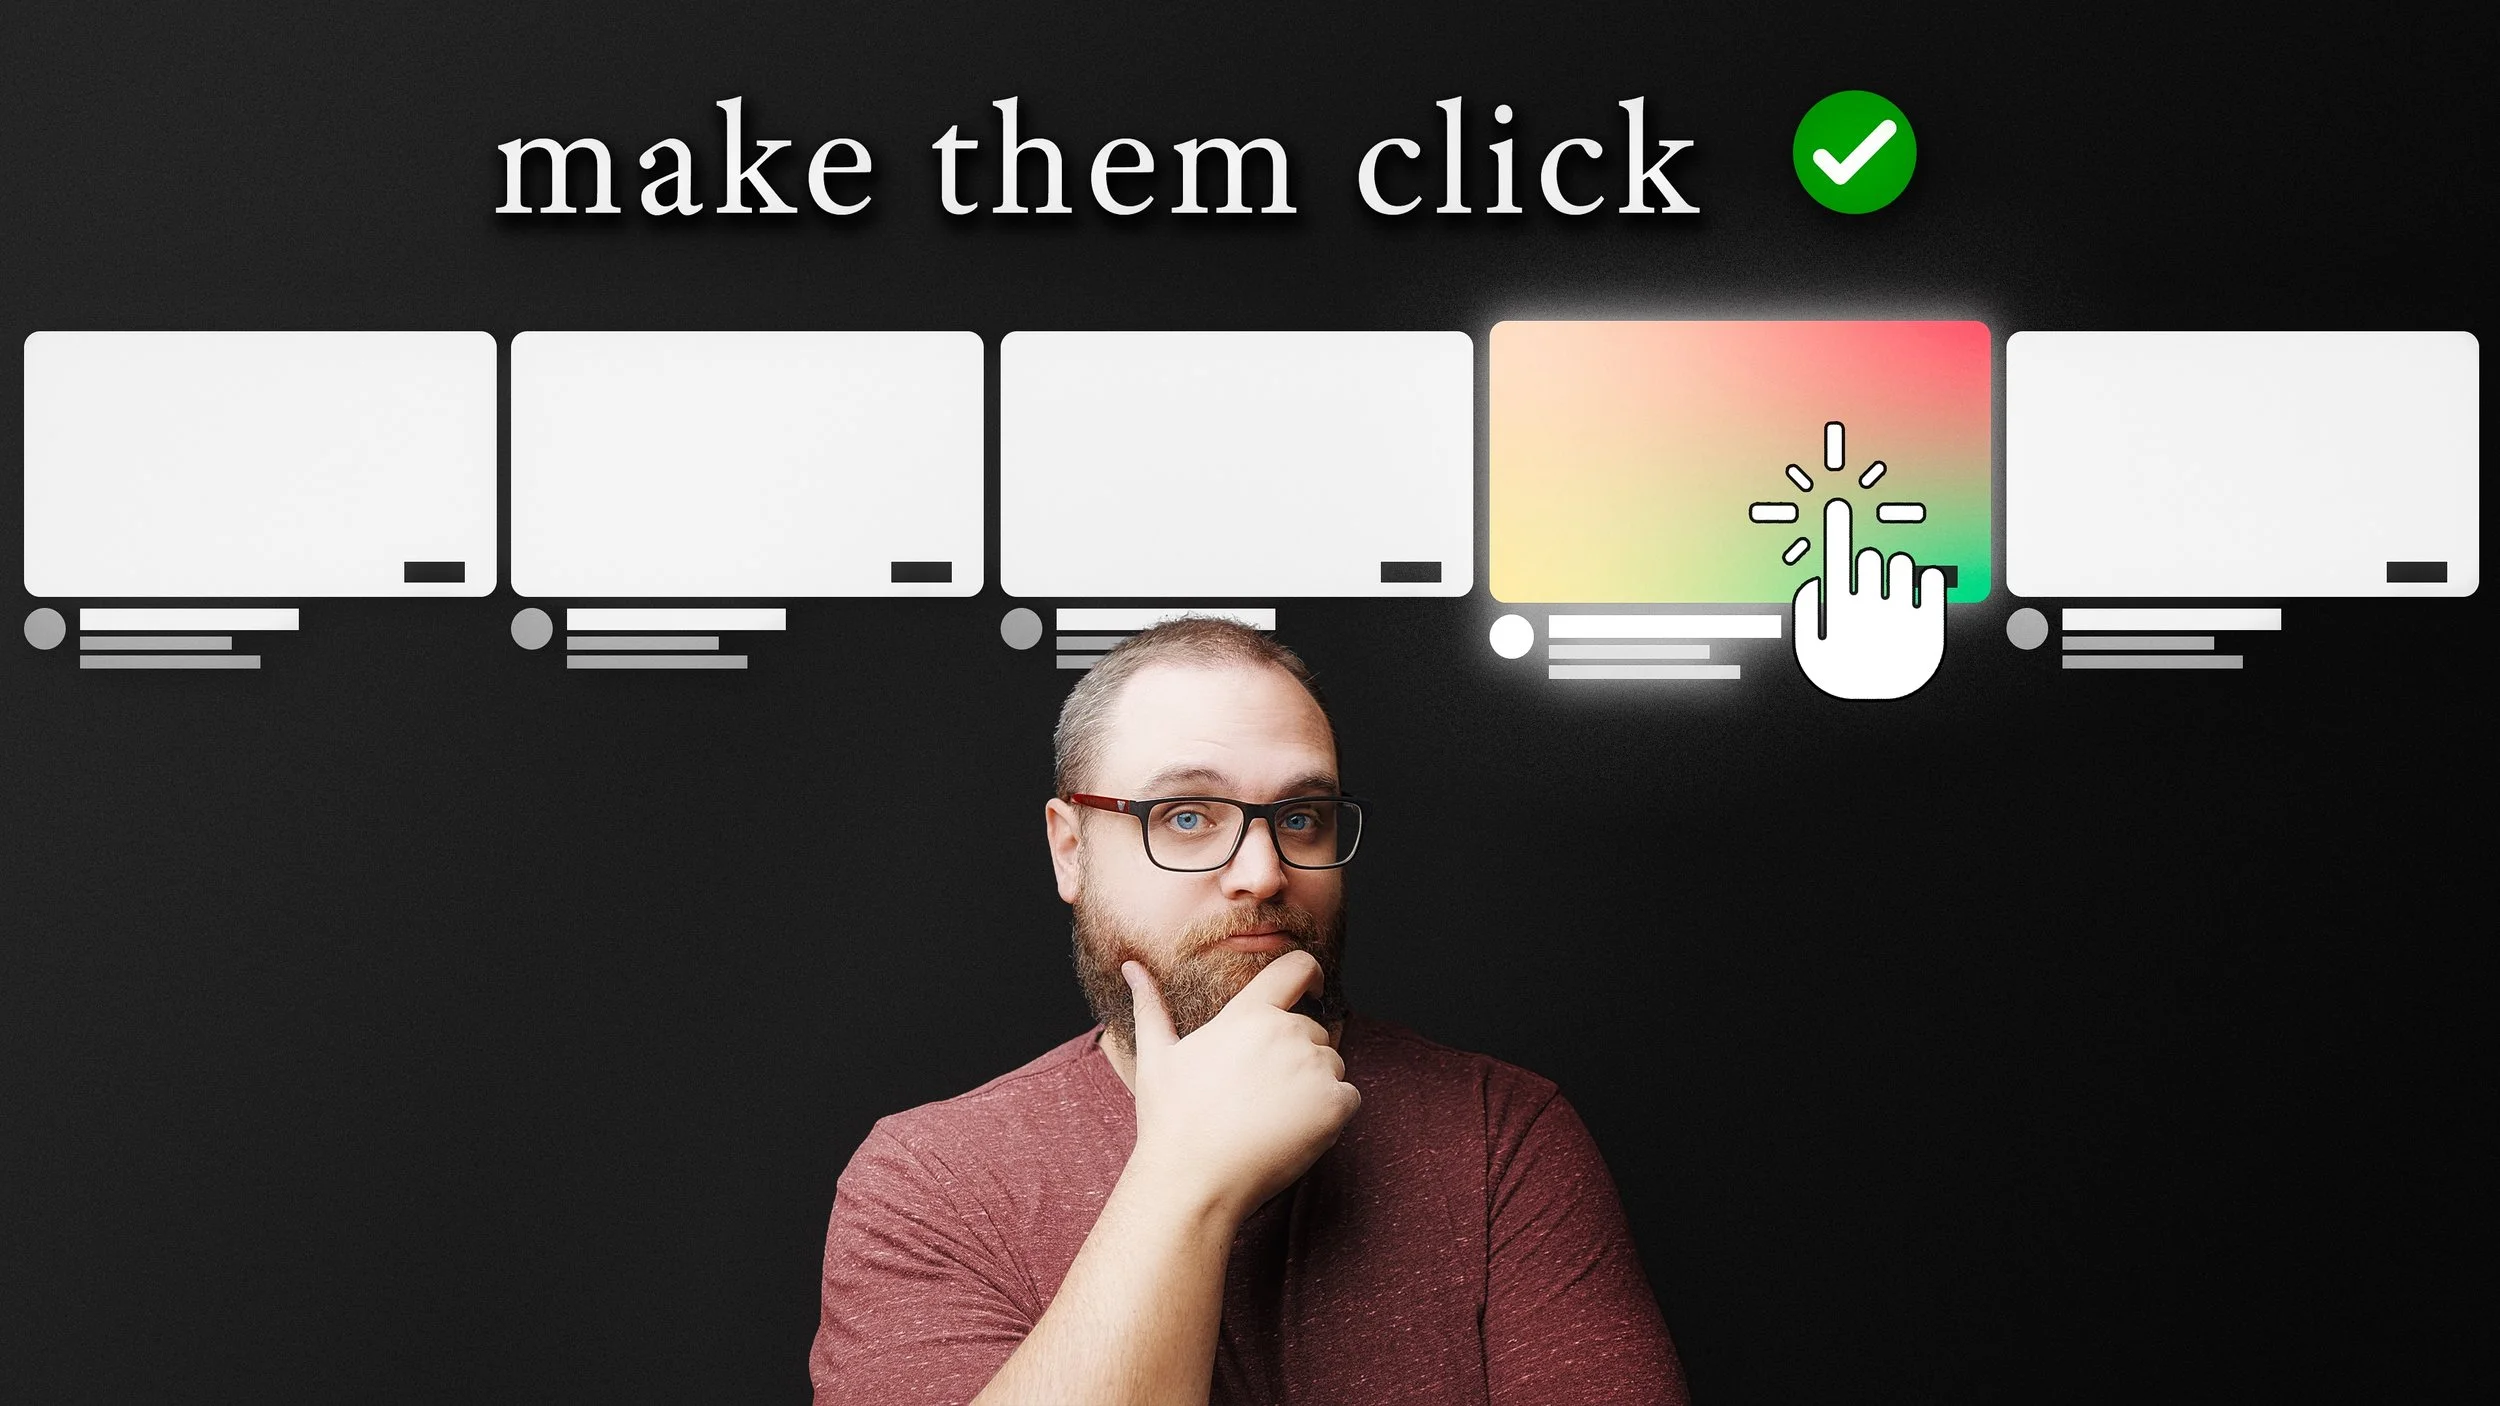
Best Way to Edit Yourself in Thumbnails for MAXIMUM Clicks
Creating attention-grabbing thumbnails is crucial for YouTube's success, especially when competing with countless other creators. If you've ever admired the vibrant, eye-catching thumbnails of creators like MrBeast, you know how much impact a well-edited image can have. In this post, I’ll guide you step-by-step on how to edit yourself for thumbnails that pop using Photoshop. These techniques are simple yet powerful, helping you create dynamic, high-contrast images that draw viewers in.
Why Thumbnail Edits Matter
Your thumbnail is the first impression of your video. It must tell a story, evoke curiosity, and stand out visually. By enhancing the contrast, colors, and lighting, you can create a professional thumbnail that grabs attention without overwhelming the viewer.
Step 1: Start with a Good Base Image
Before diving into Photoshop, you need a solid starting point:
Use a Video Frame or Photo: No worries if you don’t have a DSLR! You can pull a frame from a video. For example, I used a frame from my Sony FX30, shot in S-Log, and converted it to Rec.709 in DaVinci Resolve.
Lighting Is Key: Good lighting will save you time when editing. Aim for Rembrandt-style lighting (a triangle of light under one eye) for a dynamic look.
Step 2: Cut Yourself Out
The first step in Photoshop is isolating yourself from the background:
Quick Method: Use the Select Subject or Remove Background tool.
Fine-Tuning: If the automatic selection misses fine details like hair, use the Select and Mask tool to refine the edges.
With your cutout ready, you can focus on enhancing yourself without affecting the background.
Step 3: Soften Skin for a Polished Look
To achieve that smooth, polished look often seen in thumbnails:
Duplicate your base layer and apply the Camera Raw Filter.
Reduce the Texture and Clarity sliders to soften the skin.
Add a black layer mask and use a soft brush to paint the effect only on skin areas like the forehead, cheeks, and neck. Avoid softening sharp details like glasses or eyes.
Step 4: Adjust Shirt Colors for Variety
Changing the color of your shirt can make your thumbnails feel more tailored to each video:
Add a Hue/Saturation adjustment layer.
Use the Object Selection Tool to select the shirt.
Mask the adjustment layer to apply the color change only to the shirt.
This technique allows you to experiment with colors to match your thumbnail’s theme or branding.
Step 5: Enhance Lighting with Dodge and Burn
Light and shadow play a massive role in creating dynamic images:
Dodge (Lighten): Use a Curves adjustment layer to brighten specific areas like the forehead, nose bridge, and beard highlights. Paint the effect onto areas where light naturally falls.
Burn (Darken): Create another Curve adjustment layer to darken shadows around the jawline, hair, and side of the nose. This adds depth and contrast.
Keep the opacity of these layers around 15-30% for a subtle yet noticeable difference.
Step 6: Make Your Eyes Pop
Bright, vibrant eyes are a secret weapon for thumbnails:
Create an ellipse that matches the size of your iris.
Fill it with a color slightly brighter than your natural eye color.
Set the layer blending mode to Linear Dodge (Add) and reduce the opacity to around 15%.
Mask out the areas outside the iris and the pupil for a clean, natural look.
This small detail can make your eyes the focal point of the thumbnail, drawing viewers’ attention.
Step 7: Review and Refine
Before finalizing:
Toggle each layer on and off to see the difference.
Adjust the opacity of each layer to keep the enhancements subtle and natural.
Compare the edited version with the original to ensure it aligns with your style and branding.
Final Thoughts
Editing yourself for thumbnails doesn’t have to be overwhelming or time-consuming. These techniques are about enhancing what’s already there—your natural lighting, expression, and pose. The goal is to stand out without looking over-edited or artificial.

