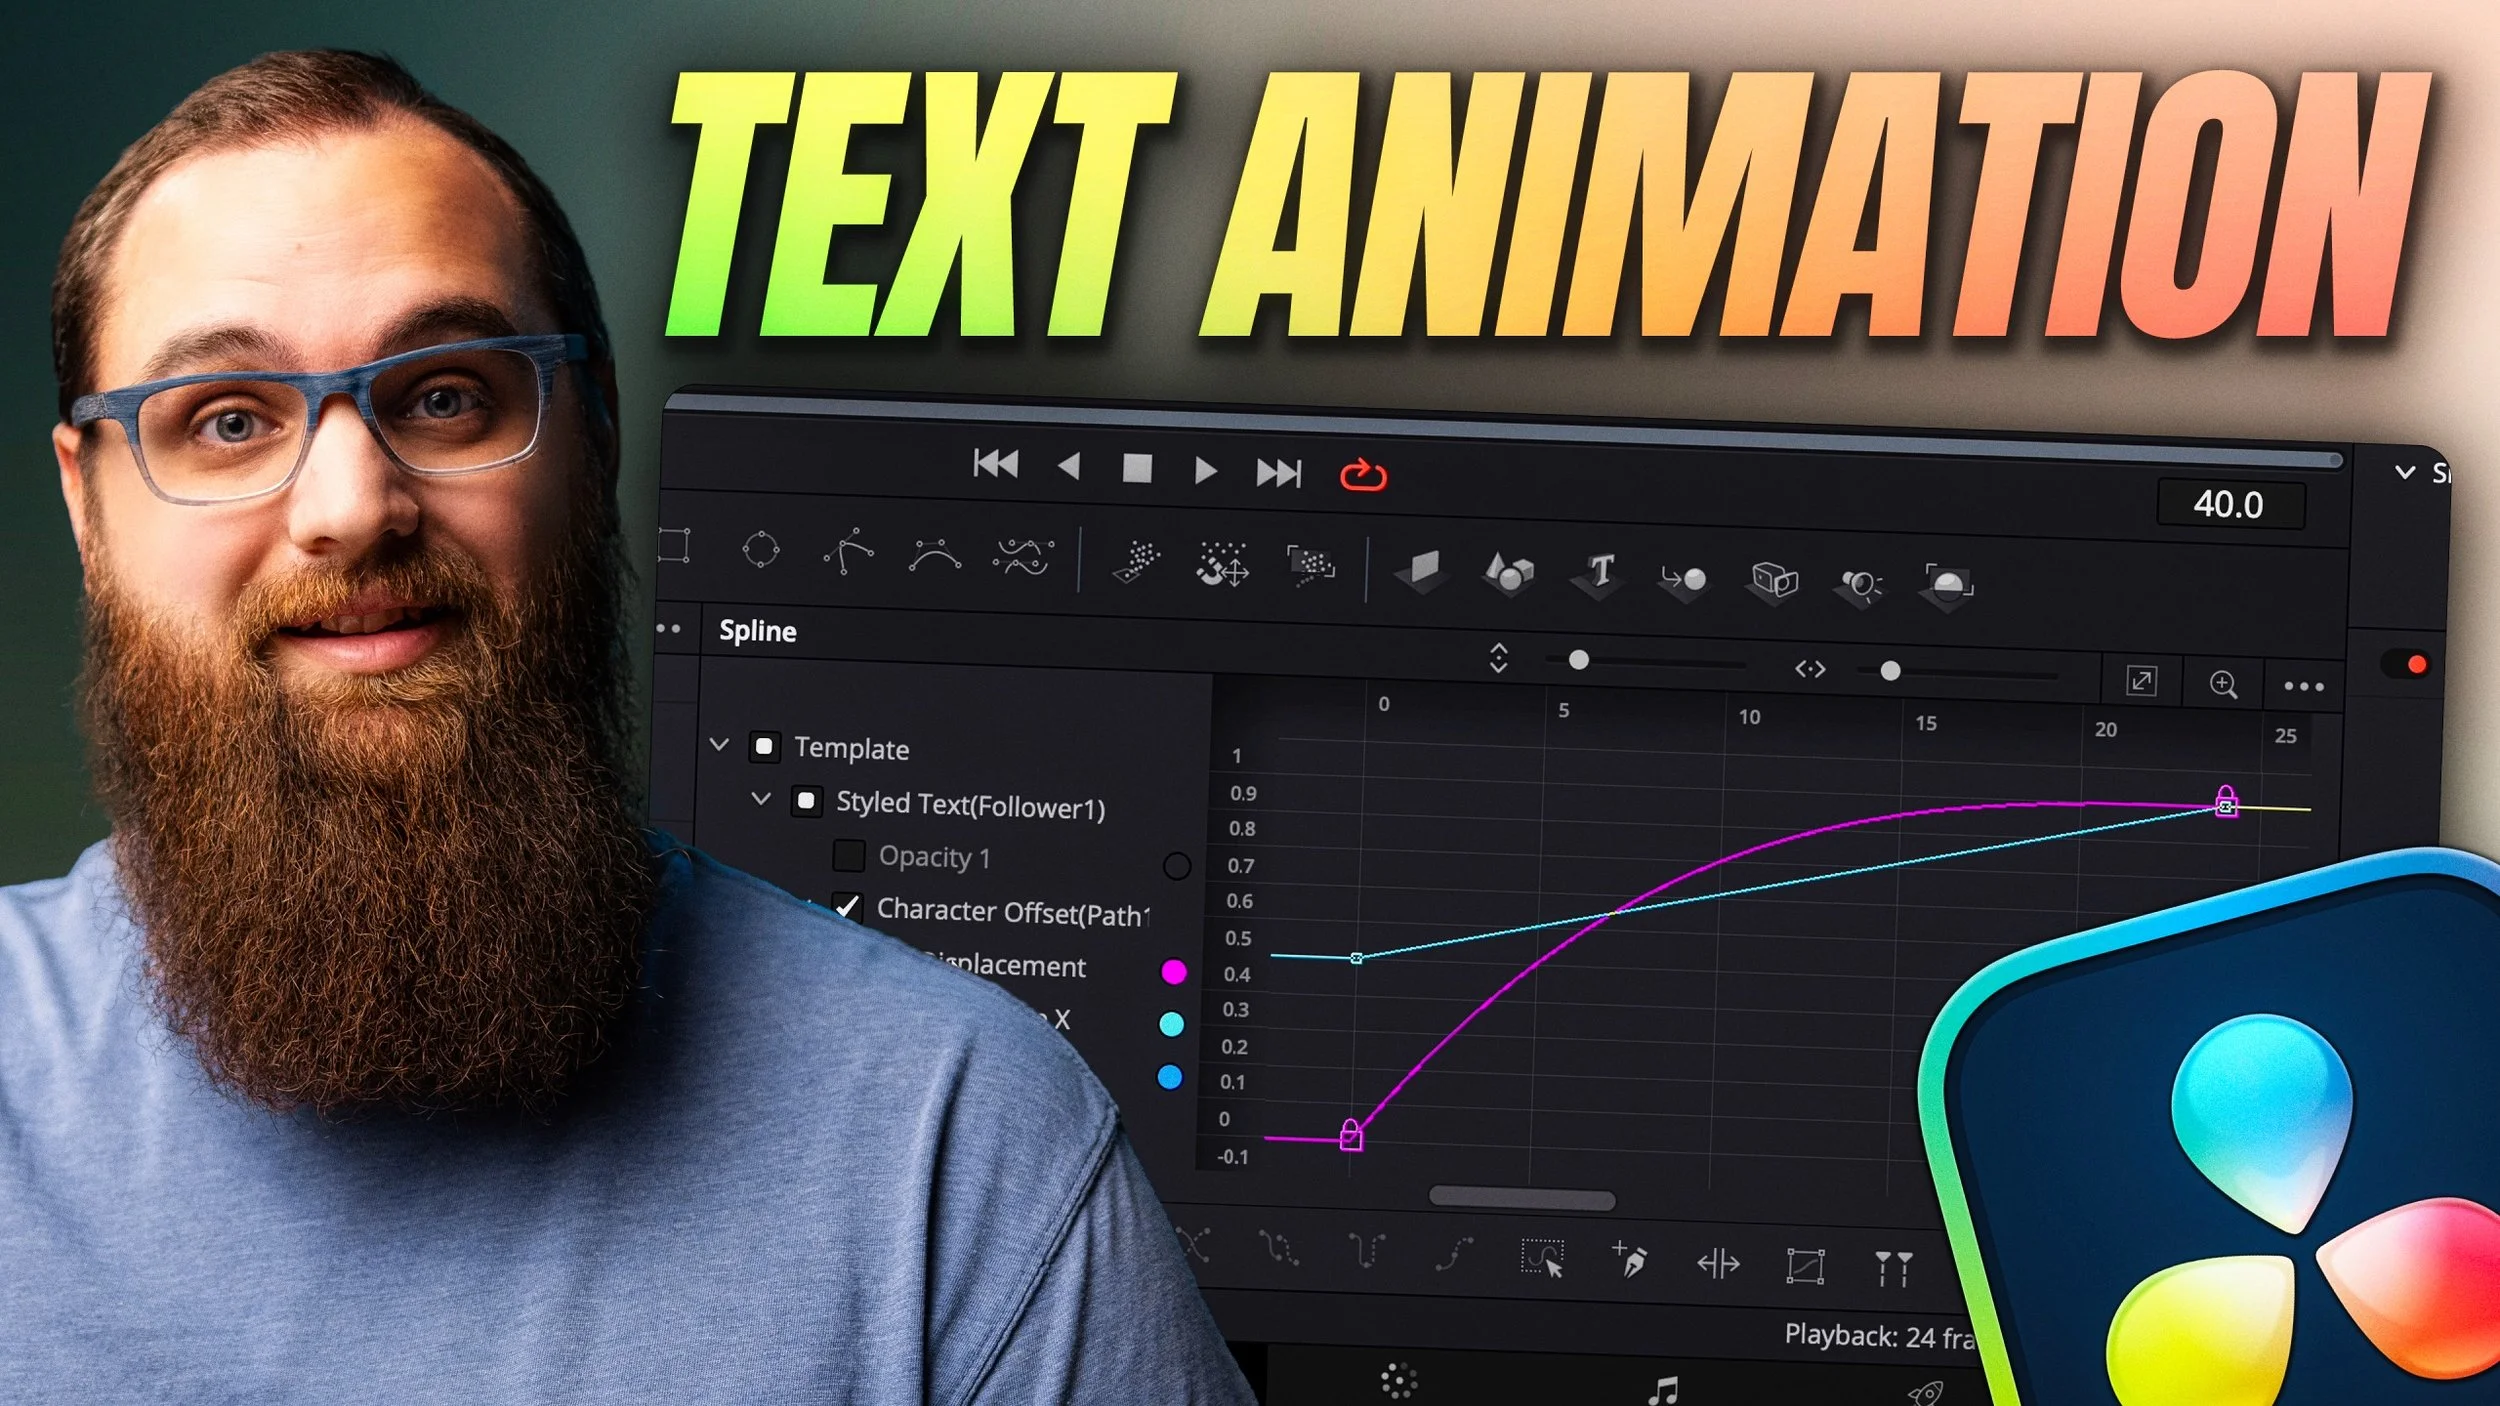
Create Stunning Text Animations in DaVinci Resolve
Creating custom animations for text in DaVinci Resolve can add a professional touch to your videos. While templates are available, crafting your animations gives you more control and a unique result. This guide’ll walk you through the step-by-step process of animating text, from simple movements to advanced modifications, all within DaVinci Resolve.
Getting Started with DaVinci Resolve
To begin, open a new project in DaVinci Resolve and navigate to the timeline. If you’re new to text animations, don’t worry—we’ll keep it simple. We’ll use Text+ for this tutorial, which offers more flexibility than the basic text option.
Step 1: Adding Text+ to the Timeline
Open the Effects panel by clicking the icon in the top-left corner.
Under the Titles section, select Text+ and drag it to your timeline.
You’ll see placeholder text appear in the viewer. This will be your starting point.
Now that your text is in place, let’s move on to animating it.
Basic Keyframing for Text Animation
Keyframing allows you to create motion by defining an animation's starting and ending points.
Animating Position: A Simple Fly-In Effect
With your play head positioned about one second into the timeline, move the text to the center of the frame.
Click the diamond icon next to the layout controls to set a keyframe.
Move the play head to the beginning of the timeline and drag the text off-screen.
Hit play to see your text fly in.
While this creates a basic animation, it can feel abrupt. Let’s refine it with smoother transitions.
Step 2: Smoothing Animations with Keyframe Interpolation
To make the animation more natural:
Open the Spline and Keyframe editors in Fusion.
Select your keyframes, then right-click and choose Ease In, Ease Out, or Ease In and Out.
You’ll see an S-curve in the graph, indicating a smoother motion.
This adjustment ensures your text slows down as it finishes the animation, giving it a polished feel.
Advanced Customization: Using the Follower Modifier
We’ll use the Follower Modifier to animate text at the character level for more creative control.
Adding the Follower Modifier
In the Inspector, right-click on the text field and select Modifier > Follower.
A new set of options will appear under the Modifiers tab.
Set the order from Left to Right (or customize as needed).
Animating Individual Characters
Opacity Animation:
Go to the Shading tab.
Set a keyframe for Opacity at 100% at the 24-frame mark.
Drag the play head back to the start and set the opacity to 0%.
Use the Spline editor to add easing for a smooth fade-in effect.
Position Animation:
Under Transform, set keyframes for the X and Y positions to move each character from off-screen.
Apply easing in the Spline editor to make the motion smoother.
Scaling Animation:
Adjust the size of characters by setting keyframes in the Transform section.
For instance, start with smaller characters and scale them up as they animate in.
Fine-Tuning the Animation
The Follower Modifier also allows you to:
Add delays between characters for a sequential animation effect.
Customize animation speed and direction.
Combine multiple effects, such as position, opacity, and scaling, for a layered result.
Conclusion
Custom text animations in DaVinci Resolve offer endless creative possibilities. By using keyframes, interpolation, and the Follower Modifier, you can create professional-looking effects tailored to your video projects.
Ready to dive deeper into DaVinci Resolve? Check out our Beginner's Guide to DaVinci Resolve for a comprehensive overview of the software.

